|
Connect with Netgear_Ext to access Mywifiext
If you want to configure the Wifi range extender, accessing www.mywifiext.net setup is necessary. You have to understand that wireless or Wifi access to a range extender is available with the default extension that is Netgear_ext SSID. To connect with Netgear_ext SSID, you have to:
Install Mywifiext.local setup The success of Mywifiext local setup depends on different factors. Mywifiext local allows you to access the Wifi extender login page via Apple devices.
Mywifiext.net setup guide Using Mywifiext is the simplest method if you want to setup the Wifi range extender. All you need is to access Mywifiext.net login and enter the credentials. However, sometimes users face Mywifiext.net not working. This error generally occurs due to the reason that Mywifiext.net is a local web address, not a website. Steps for Mywifiext.net login Web-based page Mywifiext.net login is used for Netgear Wifi extender installation. It is also a configuration page to change the advanced and basic settings of the old Wifi range extender. Follow the below-mentioned steps to access Mywifiext.net login.
Some common issues while accessing Mywifiext.net login and their solutions If you are unable to access Mywifi.net login then there are some reasons that you want to be aware of. Just read the troubleshooting steps that are mentioned below to solve this issue and install the Mywifiext.net setup.
Can’t access 192.168.1.250? 192.168.1.250 is the IP address used for setting up the Wifi range extender. For logging in to the range extender, open any web browser and carefully enter http://192.168.1.250 in the address bar. However, sometimes users face issues while accessing this IP address. If you are also facing this issue, follow the steps mentioned below to fix it. This IP address is a private network, and this address is used when users can’t access mywifiext.net. But, sometimes, accessing this IP address also becomes difficult as this is a private address used only within the private network. This is the cause why many users face problems while accessing this IP address. This may also happen because it is not the default IP address of the Wifi range extender you are using. So, it is essential for you to know the IP address of your extender and then try to access the user interface. More reasons why users can’t connect to 192.168.1.250:
0 Comments
Why I Cannot Connect To Mywifiext.net?
Confused why you cannot to mywifiext.net? Don’t know what to do in this situation and how to connect to mywifiext.net for wifi extender setup and login? We know this problem is quite frustrating, but not when you have the right guide to get rid of this problem. In this blog, we will list some common problems of mywifiext.net and how to resolve them. Problems With Mywifiext.net - If https //www.mywifiext.net not working, then this is a result of various issues. They could be caused by an error in typing or an unreliable network connection or not entering the correct details for login. The error messages when accessing the site could look like this:
Troubleshooting Tips for Fixing Mywifiext.net Problems: Once you have identified the issue or the reasons for these issues to arise, follow the troubleshooting tips listed below to access mywifiext.net;
Mywifiext.net fixed! It is important to understand the reasons why you cannot connect to mywifiext.net. Once you know the problem, solving it is much easier. The troubleshooting tips mentioned above help in connecting to the mywifiext.net web page. Follow all the tips carefully so that you can easily set up and configure your wifi extender. In case of any doubts or queries, get to us via the chat given below. Our experts will resolve your issue in the blink of an eye. 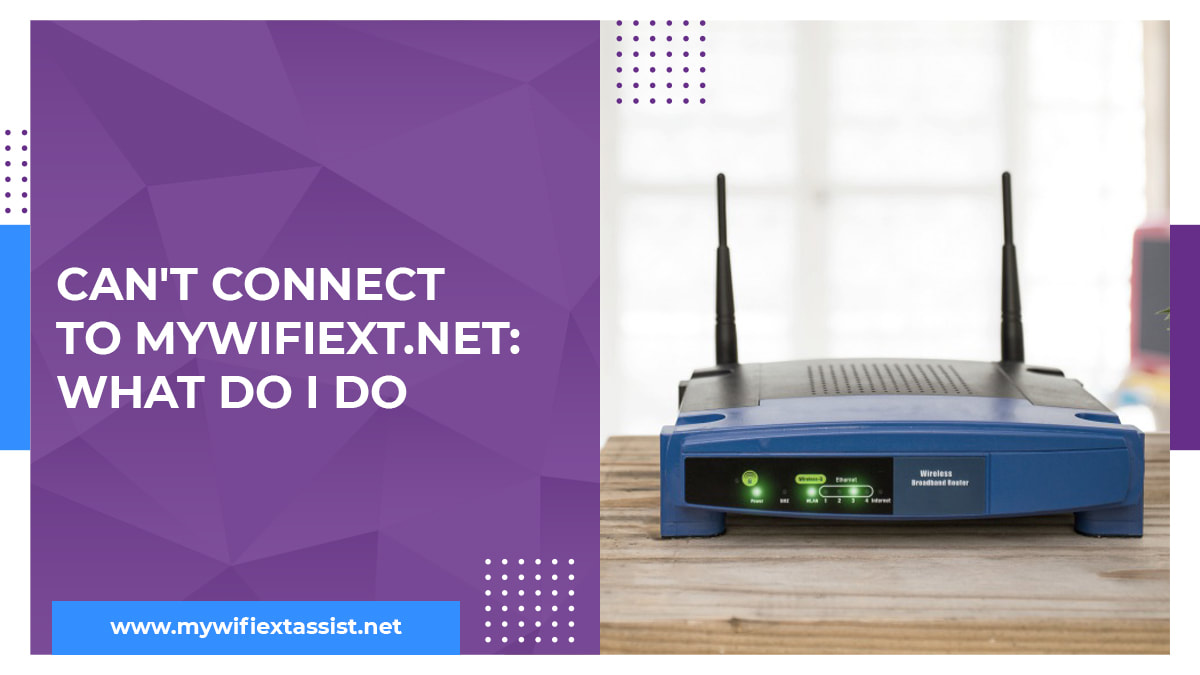 To overcome internet connection problems like low signal strength, dead zones, low WiFi speed, a WiFi range extender is required. Netgear WiFi range extender is the most popular extender among users. But sometimes users complain that they Can't Connect to Mywifiext.net when they are configuring their WiFi range extender. If you are looking for solutions to fix this issue then this blog is for you. Here, in this blog, we are going to discuss simple and easy tips and tricks to fix mywifiext.net connectivity issues. Let’s get started.
Simple steps to fix can't connect to mywifiext.net Mywifiext.net is not a regular website, this website is used to access the settings of the Netgear WiFi range extender. If you are not able to connect to mywifiext.net then don’t worry. Follow the below-mentioned step-by-step guidelines to fix can’t connect to mywifiext.net error:
These are the simple and easy steps that will help you to fix the Can't Connect to Mywifiext.net issue without any hassle. Are you facing issues with the new extender setup? Want to know how to set up a new extender via Mywifiext.net? Mywifiext.net is a default online portal that provides the easiest way for users to manage and set up their WIFi range extender. Through Mywifiext, you can easily set up your WiFi range extender and modify its settings as per your requirements. While accessing Mywifiext, make sure that you are using the default password. Here, in this blog, you will learn the simplest method to set up the new extender through mywifiext.net web address.
Simple steps to set up WiFi extender through manual method Go through the below-mentioned steps to set up the Netgear WiFi range extender through the manual method:
Simple steps to set up WiFi range extender through Ethernet cable Here are the steps to set up a WiFi range extender through ethernet cable:
Steps to connect to the Netgear extender’s network Following are the steps to connect to the Netgear extender’s network:
Steps to create mywifiext account for extender setup Follow the below-mentioned steps to create a mywifiext account to set up a new Netgear extender:
So, these are the simple steps to set up the Netgear WiFi range extender through Mywifiext.net. Follow these simple steps and access Mywifiext on your device in a hassle-free manner. 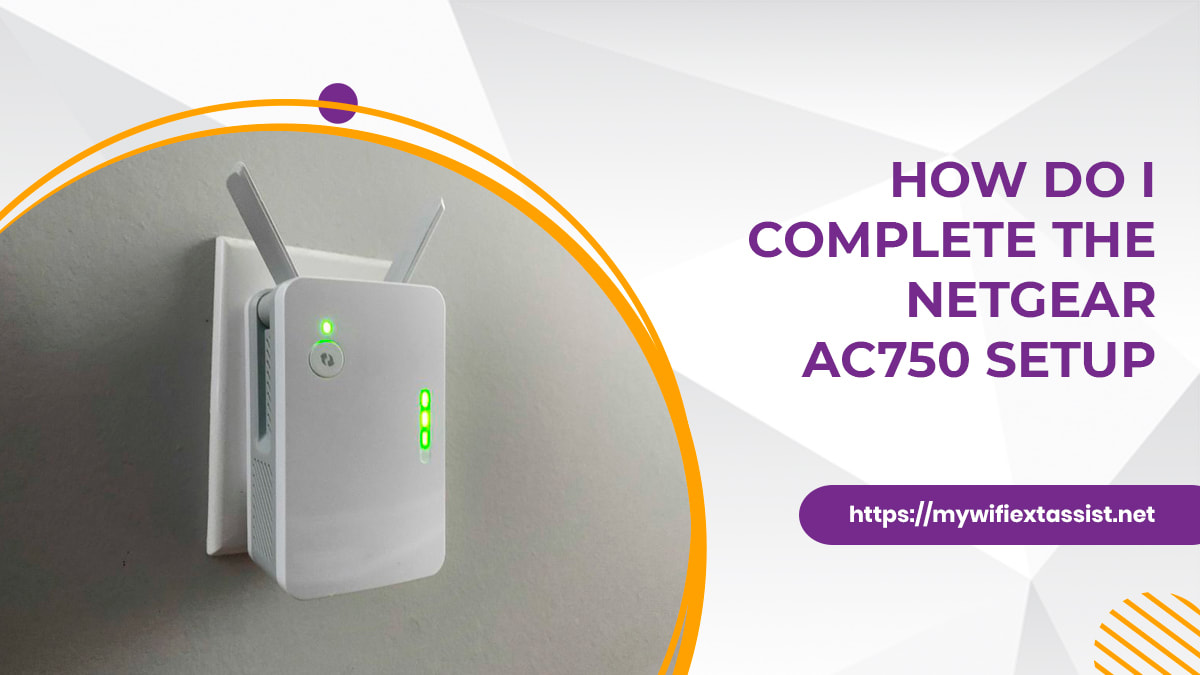 When you purchase a brand new Netgear AC750 WiFi range extender, you need to complete the setup of the Netgear AC750 WiFi extender. Netgear AC750 Setup extends the existing home WiFi network to hard-to-reach places. You can complete the setup of the Netgear AC750 WiFi range extender either through the WPS method or through the web browser. If you don’t know how to set up the Netgear AC750 WiFi range extender then this blog will assist you. So, without taking much time, let’s get started with the setup procedure of the Netgear AC750 WiFi range extender.
Simple steps to set up the Netgear AC750 WiFi range extender through the WPS button Setting up the Netgear AC750 WiFi range extender through the WPS button is very easy. You just need to locate and press the WPS button on the router and Netgear AC750 extender. Follow the below-mentioned steps to set up the Netgear AC750 WiFi range extender by pressing the WPS button: Step 1: First and foremost, you need to plug your Netgear AC750 WiFi range extender into the power socket and then turn it on. Step 2: Place the home Netgear AC750 WiFi range extender near the home router to complete the setup process. Step 3: Now, locate and press the WPS button on the Netgear AC750 WiFi range extender for 2 seconds. Step 4: Then, locate and press the WPS button on the main router within 2 seconds. Step 5: After connecting the Netgear AC750 extender to the router, unplug the extender and place it in a new location. Step 6: Now, try to connect your WiFi-enabled device to the extended network in a weak WiFi router coverage place. Simple steps to set up the Netgear AC750 WiFi range extender through the web browser If your home router does not support the WPS button then use the web browser method to set up the Netgear AC750 extender. Go through the below-given steps to set up the Netgear AC750 WiFi range extender setup : Step 1: First of all, plug your Netgear AC750 WiFi range extender near to the home router. Step 2: Now, an Amber light will blink on the Netgear AC750 extender and then the light will turn green. Step 3: After that, launch a preferred web browser on your computer and go to the official website of Netgear extender and tap on the next button. Step 4: Then, you will be navigated to the setup page of the Netgear WiFi range extender where you need to tap on the “new extender setup” button. Step 5: Next, enter your username and password in the required field to create an account for your Netgear extender then tap on the next button. Step 6: In the next step, click on “WiFi range extender button” or “access point” Step 7: Finally, choose your existing WiFi network from the list that you want to extend. Step 8: Then, follow the on-screen instructions to complete the Netgear AC750 WiFi range extender setup. Hopefully, by following the above-mentioned steps you can complete the Netgear AC750 Setup hassle-free. Netgear is one of the leading networking brands that provide related services. The routers and extenders of Netgear are very famous among users. You can easily configure your Netgear WiFi range extender with Netgear Installation Assistant. After setting up the Netgear WiFi range extender with the help of Netgear installation assistant, you can enjoy the high-speed internet in every corner of your house without any interruption. No technical knowledge is required to set up a Netgear WiFi range extender. If you are willing to know how to set up the Netgear WiFi range extender with Netgear installation assistant.
Quick steps to connect with Netgear installation assistant Walkthrough the following steps to connect with the Netgear installation assistant: Step 1: Firstly, plug your brand new Netgear Extender near the WiFi router into a power outlet. Step 2: Then, turn on the power supply and wait for the green light on the extender. Step 3: Now, connect your Netgear WiFi range extender to the router either through a USB cable or wirelessly. Step 4: Thereafter, go to the connection manager, and connect to the Netgear_ext network. Step 5: Next, launch an internet browser on your computer system and go to the Netgear extender setup page. Step 6: On the extender setup screen, hit on the “New extender setup” option and then enter the login details in the given field and proceed with the next step. Step 7: After that, check the access point or extender switch and then move forward with the next step. Step 8: Then, the device will scan all the available networks and display a list of the networks on your screen. You need to select your network from the list and then click on the next button. Step 9: In the next step, you can change the WiFi frequency bands but if you don’t want to change the frequency bands, then you need to clear both WiFi bands. Step 10: If you find that the Netgear installation assistant is not working then, click on your WiFi name, then enter the security password. After entering the password, move forward with the next step. Step 11: Now, set up the username and password for your Netgear WiFi range extender. Step 12: After that, connect your WiFi-enabled device to the extended network through network SSID and password. Step 13: Then, you will receive a confirmation message that your device is successfully connected to the extended network. Step 14: Hit on the next button to go to the Netgear installation assistant registration page. Here, you need to enter all the required details and then hit on the submit button. Step 15: After that, it will inform you that the setup process is completed successfully. If you don’t want to fill out the registration form then you can skip this step. Step 16: Finally, place your Netgear WiFi range extender almost halfway between the router and the dead zones. Hopefully, the above-mentioned steps will help you to complete the setup of the Netgear WiFi range extender with Netgear Installation Assistant. Tried multiple times but failed to access mywifiext.net? What to do next? Mywifiext.net not Working is a common error that users encounter during the setup procedure. Nothing to worry about. This error is easy to fix. You just need to follow some troubleshooting tricks to eliminate the problem. Mywifiext.net is a default web address that is designed to set up a WiFi range extender as simply as possible. By using mywifiext.net web address you can easily update and maintain the settings of the WiFi range extender that has already been installed.
Tricks to fix mywifiext.net not working issueBelow are the troubleshooting tricks to fix mywifiext.net not working issue. Follow the correct steps to complete the setup A lot of users do not follow the correct steps to access mywifiext.net and ultimately get stuck with error messages. Therefore, follow the below-mentioned steps to access mywifiext.net:
If you have entered the wrong address or you have entered the web URL in the search bar of the web browser then you cannot access mywifiext.net. In order to rectify the error, enter the web address without any typos error in the address bar of the web browser. Use the latest version of the web browser Another thing that you need to check while logging into mywifiext.net is the version of the web browser. If you are using the outdated version of the web browser then you cannot access mywifiext.net. Therefore use the latest version of the web browser to resolve the mywifiext.net not working issue. Clean the web browser The next solution to resolve the mywifiext not working issue is to clean the web browser. Junk files, cache, cookies, browsing history can cause the issue in logging into mywifiext.net. Therefore, to rectify the error, you need to delete all the junk files, cache memory, and browsing history. Location of the WiFi range extender If you are placing your WiFi range extender near the walls, in the corners, near the refrigerator, baby monitor, Bluetooth speaker, cordless phone, microwave, treadmill, etc. then you cannot access mywifiext.net. Because the electronic devices create interference and your WiFi range extender won’t receive the WiFi signals from the router. So, to fix the issue, always keep the WiFi range extender at a certain distance away from these devices. You can use the above troubleshooting tricks to fix Mywifiext.net not Working error. Still, if you are facing any issues with accessing mywifiext.net then you contact our technical experts to resolve the issue. 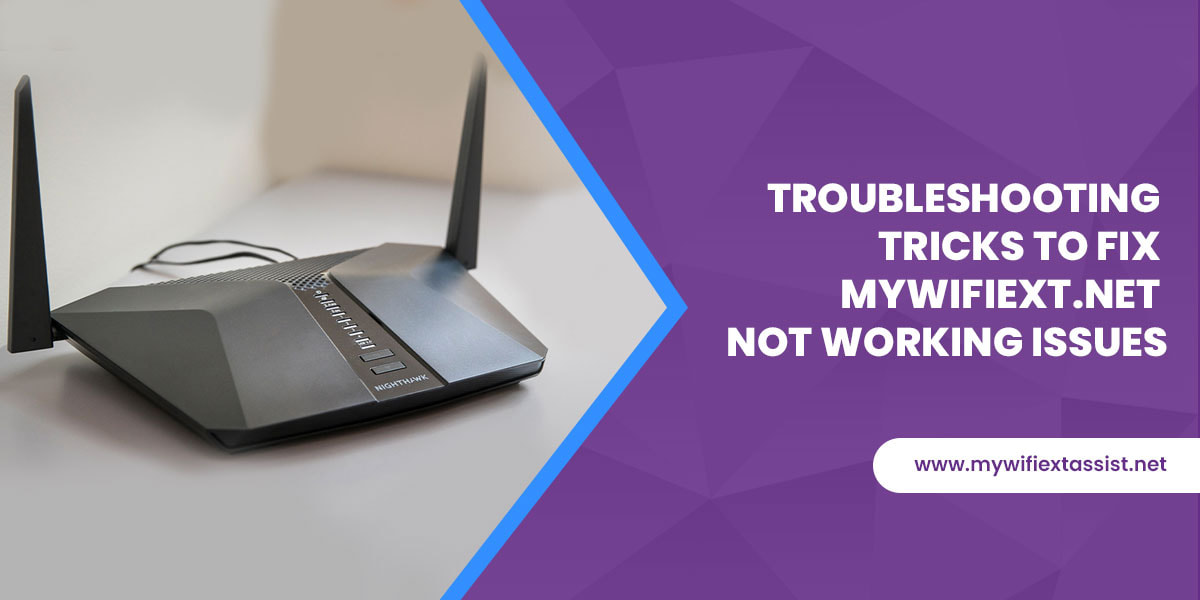 Are you facing any issues with mywifiext.net? Is mywifiext.net not working properly? If the answer to these questions is yes, then you have landed in the right place. This blog will help you in Troubleshooting Mywifiext.net issues. There are a number of reasons that can cause mywifiext.net failure. In this blog, we are going to discuss all the tips and tricks that you need in troubleshooting mywifiext.net issues. You just need to scroll down the blog till the end and follow all the instructions. So, without wasting any more time let’s start with the troubleshooting guide.
Steps to troubleshoot mywifiext.net issues You can follow the below solutions for troubleshooting mywifiext.net:
Hopefully, this blog will help in Troubleshooting Mywifiext.net issues. But in case, if the mywifiext.net not working problem still annoys you then feel free to contact our technical experts. 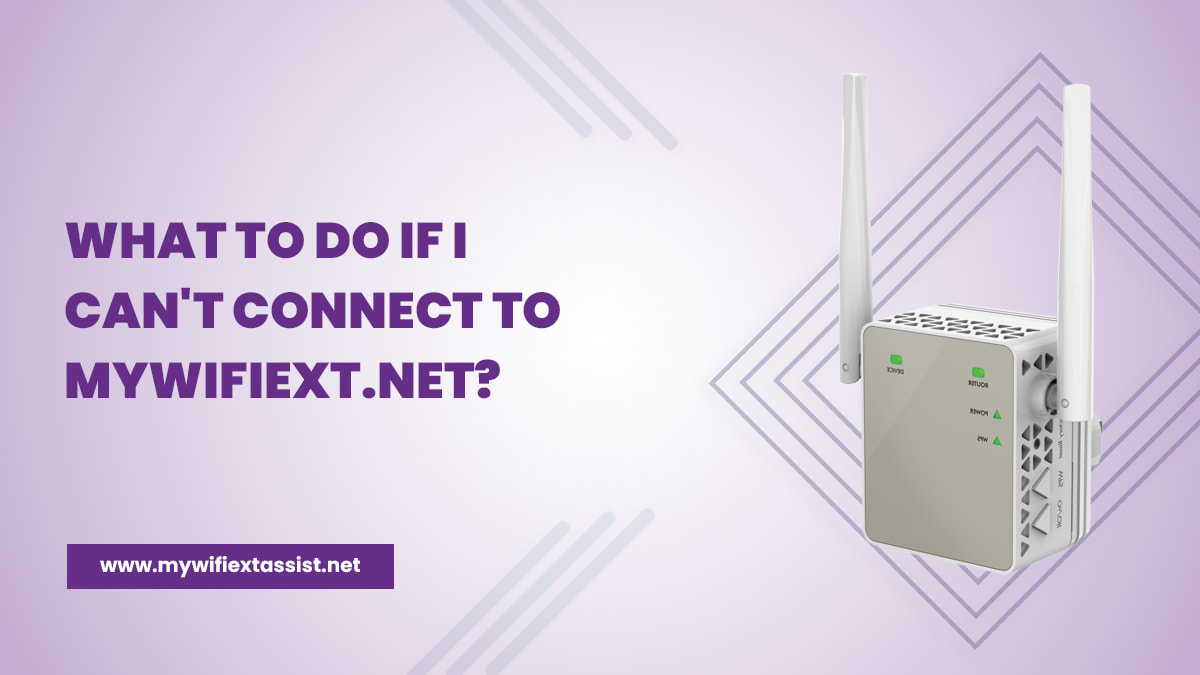 Are you facing issues while accessing the mywifiext.net web address for the wireless extender setup? Getting an error message on your screen saying “Can't connect to mywifiext”? Well, you are at the right place! Here, you will get the answer to all the questions. Mywifiext.net is a local web address which is used to access the Netgear wireless extender settings. You will get this error message when your computer or laptop is not connected to the internet connection. In this blog, we have shared the simple instructions to resolve the Can't Connect To mywifiext.net issue. Let’s get started without any further delay. Troubleshoot Can't Connect To mywifiext.net Issue There may be a possibility that you may face the Can't Connect To mywifiext.net issue while accessing the Netgear extender page. Look at the below troubleshooting steps to resolve the issue: Step 1: The first step is to check the web address entered by you in the internet browser to connect with the Netgear extender. It should be correct. Step 2: Place the Netgear range extender in the same room in which you have placed the wireless router. Step 3: Once you set up your extender through mywifiext.net and it is working well then move your extender to the location of your preference. Step 4: Next, plug in the WiFi range extender into the electrical socket. Ensure your Netgear extender is receiving the proper power supply. The power LED light on the extender turns to solid green. Step 5: Try to use the alternative method to connect with the Netgear extender i.e. use the IP address 192.168.1.250 in the URL bar of the internet browser. Step 6: Assign a static IP address to your computer. Step 7: Try to use the Ethernet cable to connect your device to the Netgear range extender. Also, the Ethernet cable that you are using should not be broken or damaged. Step 8: Prefer to use the Google Chrome, Mozilla Firefox web browsers for connection with the mywifiext.net. Step 9: If you are facing an issue in accessing the mywifiext.net web address then reset your browser to the factory default settings. Step 10: Make sure that you are using the updated version of the web browser to fix the mywifiext.net is not working issue. The web browser that you are using for accessing mywifiext.net should be updated. Step 11: Remove all the browsing history, cache, cookies from the web browser that you are using for accessing mywifiext.net. Step 12: Ensure that you have established all the connections correctly. There should not be any cable damaged or broken. Step 13: Power cycle your Netgear wireless range extender. Step 14: Check whether your device is connected to the stable and high-speed internet connection or not. That’s it! Hopefully, by following the above-mentioned instructions, you can easily fix the Can't connect to mywifiext issue without facing any difficulty. However if even after following the above steps, you are unable to resolve the issue then you can contact our professional expert team through live chat for the resolution of the issue.  When you try to configure your extender, you can see a website on the internet that you need to go to. This website is www.mywifiext.net which is used for the Windows operating system. When you open the web page, you need to enter mywifiext Username and Password details. Because without entering these details your extender won’t work. If you want to know how to find and reset mywifiext username and password then you are on the right post. In this blog, we are going to discuss step-by-step guidelines to find and reset the username and password of mywifiext. Finding mywifiext default username and password If you are willing to find the default username and password of mywifiext, then go through the below-given instructions:
How to reset mywifiext username and password After configuring the WiFi range extender, you need to change the username and password because the default username and password are very easy to hack. If you want to change the username and password then follow the below-given instructions:
These are the simple and easy guidelines to find and reset your mywifiext Username and Password. Hopefully, by following the above-mentioned steps you can easily reset the details. Still, if you are facing any issues with any step, please feel free to contact our technical experts. |
